 Leak Detection California
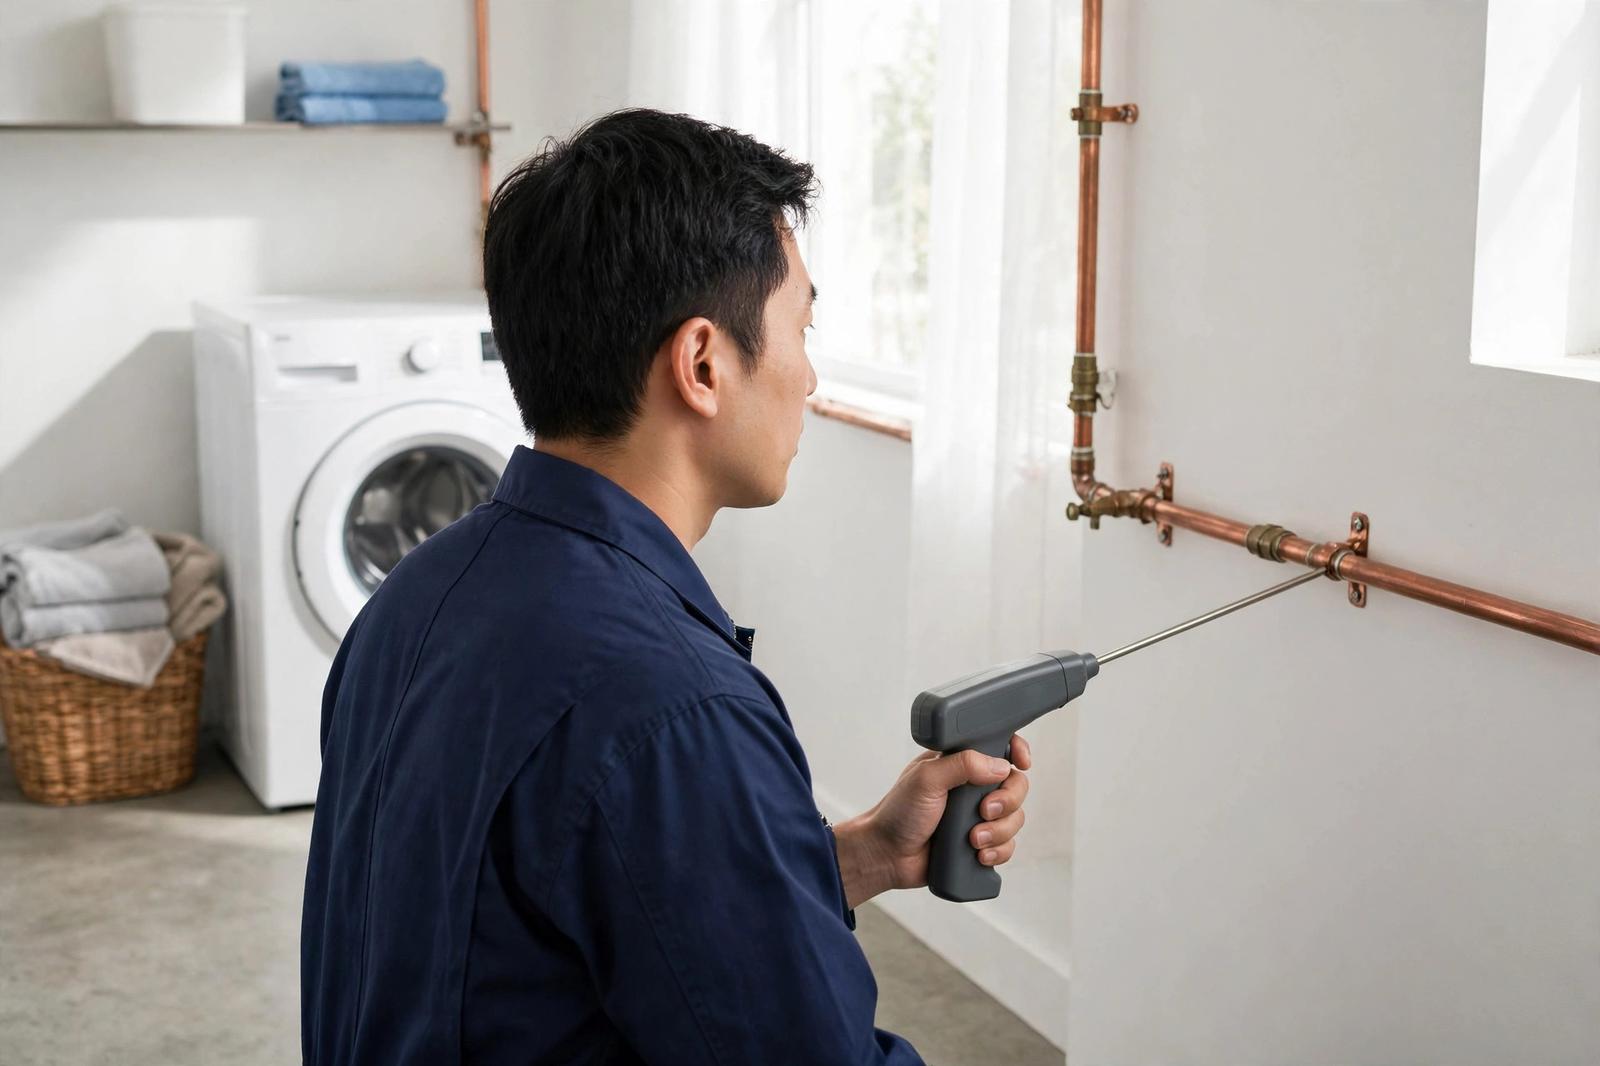
When a leak hides inside a wall, under a floor, or along a yard line, finding it by sight alone is rarely possible, and that is why leak detection relies on a set of methods rather than a single tool. Each method answers a different question: is water leaving the system at all, which section of pipe carries the fault, and where exactly along that section does the break sit. Used in order, those answers narrow the search from a whole house to a single area, so a repair can target one spot instead of opening walls and floors at random. This guide explains the main methods in plain language, what each one can and cannot show, and how a technician chooses between them. If water flows actively, a ceiling sags, or a floor patch feels hot, call Leak Detection California at (833) 382-2711 and describe the sign and the room, so the visit can start with the most useful method.
Start With the Meter: Is Water Leaving the System?
Every detection visit starts, in one form or another, with the same question: is water leaving the system while nothing in the home is in use? The water meter answers it. With every tap, appliance, and irrigation zone off, a meter that stays still argues against a pressurised leak, while a meter that moves shows water escaping somewhere, even when no puddle is visible. The test is simple, but it needs care: toilets that refill slowly, ice makers, water softeners, and irrigation controllers can all move a meter on their own, so a careful test accounts for those loads or isolates them before the reading is taken. Our guide on how to check your water meter for a leak walks through the steps, and our meter check guide explains how to read the result.
The meter test also supports isolation, which is the most important idea in detection. By shutting off sections of the system one at a time, house versus yard, hot versus cold, one bathroom versus another, a technician can watch the meter and learn which section still moves it. A section that stops the movement when isolated contains the leak, while a section that leaves the movement unchanged can be set aside. That staged logic saves time and avoids opening areas that were never suspect. It also explains why a good visit often begins with valves and readings rather than with tools: narrowing the section first makes every tool that follows more accurate, because the tool is used on a short run of pipe instead of a whole house.
Listening: Acoustic Detection Explained
Acoustic detection listens for the sound of water escaping under pressure. A pressurised leak produces a distinct sound as water jets through a crack or joint, and that sound travels along the pipe and through surrounding material. A technician uses a sensitive listening device, placed on floors, walls, or exposed pipe, to compare sound levels along a run and find the point where the sound is strongest. In a quiet house, with taps off and appliances silent, that peak often sits close to the break. Acoustic listening works best on pressurised supply lines, where the escaping water is loud enough to trace, and it is less useful on slow drain leaks, which may make little sound at all.
Background noise is the main limit of acoustic work. Traffic, appliances, air conditioning, and even wind through a yard can mask a faint leak sound, so timing and technique matter. A technician may listen at different times, move the sensor in small steps along a run, and compare readings on either side of a suspected area rather than relying on a single loud spot. On a slab, acoustic listening can narrow a leak to a room or a section of floor, which is often enough to plan a targeted repair. On a long yard line, it can narrow the search to a stretch of ground, which then guides the next method. Used on its own, listening gives a strong lead; used after isolation, it gives a location that a repair can trust.
Seeing Heat and Moisture: Thermal and Moisture Checks
Thermal imaging reads surface temperature, and it is useful because leaks change temperature in predictable ways. A hot line leak under a slab warms the floor above it, producing a warm patch that a thermal camera can show as a distinct shape against cooler flooring. A cold line leak can cool a wall or floor in a similar way, and damp material often reads cooler than dry material around it because evaporation cools the surface. Thermal imaging does not see through concrete or walls, and it does not show the pipe itself; it shows the temperature pattern on the surface, which a technician reads alongside other clues. Sunlight on a floor, underfloor heating, and recent shower use can all create warm patterns of their own, so a thermal pattern is always checked against the meter test and the room layout before it is treated as a location.
Moisture meters work on a related idea. A handheld meter measures moisture in a wall, floor, or ceiling surface, and a technician maps readings across an area to find where moisture peaks and where it fades. That map shows the shape of the damp area, which often points back toward the source, because damp spreads outward from a leak and fades with distance. Moisture mapping is especially useful for ceiling and wall leaks, where the stain on the surface may sit some distance from the break, and for floor edge checks, where damp creeps along a baseboard before it shows as a puddle. Together, thermal and moisture checks turn a vague damp patch into a shape with edges, and edges are what a repair plan needs. Our ceiling and wall leak detection work uses both methods alongside listening.
Tracing Lines: How Technicians Follow a Pipe Run
Before any listening or imaging begins, a technician needs a map of the pipe runs, and tracing provides it. In many homes, pipe routes can be inferred from fixture positions, meter location, and the layout of walls and floors, because supply lines usually take the shortest practical route between those points. Where the route is unclear, a technician may use a line locator, which traces a pipe or a cable through walls and ground by following a signal sent along it. That traced route matters, because a leak sound or a warm patch is only useful if it sits on a known pipe run; a warm patch with no pipe beneath it is more likely to be sunlight, heating, or a spill than a leak.
Tracing also explains why some leaks are harder to locate than others. A short, straight run between a meter and a fixture gives a technician few places to hide a fault, while a long run with branches, joints, and changes of direction gives many. Older homes add another layer, because past repairs may have rerouted a line or left a capped branch that no longer appears on any plan. In those cases, tracing proceeds in stages, checking one branch at a time and using isolation to rule out branches that test clean. The goal is always the same: a short, well defined section of pipe that contains the leak, so the repair opens one area rather than several. Our underground pipe leak detection work relies heavily on tracing, because yard lines are invisible from the house.
| Method | Question it answers | Where it works best | Main limit |
|---|---|---|---|
| Meter test and isolation | Is water leaving, and which section? | Whole house, house versus yard | Needs careful shutoffs and a quiet system |
| Acoustic listening | Where along a run is the sound strongest? | Pressurised supply lines, slabs | Background noise can mask faint leaks |
| Thermal imaging | Where is the surface warmer or cooler? | Hot slab lines, damp walls and floors | Shows surface pattern, not the pipe itself |
| Moisture mapping | Where does damp peak and fade? | Ceilings, walls, floor edges | Stain may sit away from the break |
| Line tracing | Where does the pipe actually run? | Unclear routes, long yard lines | Past reroutes may not match the plan |
Yard, Pool and Service Line Methods
Yard leaks need a different sequence, because the ground hides both the pipe and the water. A technician starts with the yard signs: soft ground, a strip of planting that grows faster along a line, walkway sections that stay damp, and valve boxes that hold water when the system is off. Then comes isolation, separating irrigation zones from the service line and from the house, so the meter test can point to one section. Acoustic listening on a yard line is harder than indoors, because soil muffles sound, so tracing and zone testing carry more weight outdoors. A zone that shows weak pressure or pooling while other zones run normally is a strong lead, and a service line that moves the meter with the house isolated is another. Our outdoor water line leak detection and water service line leak detection services follow that staged yard logic.
Pool and spa leaks follow their own sequence, because evaporation, splash, and backwashing all remove water legitimately. A bucket test, which compares water loss in the pool with water loss in a bucket placed on a step, separates evaporation from a real leak, and dye testing near fittings, lights, and skimmers can show water being drawn into a crack. Those checks come before any equipment is opened, because a pool that loses water only when the pump runs points to a different section than a pool that loses water steadily with the pump off. Our pool and spa leak detection page explains the pool sequence, and our pool leak signs guide covers the signs to watch for before a visit.
What Detection Cannot Do, and When to Call
Detection has honest limits, and knowing them helps a homeowner judge a visit fairly. No method sees a pipe directly through concrete, and no single tool locates every leak on its own; location comes from combining methods and cross checking their results. A very slow leak may make too little sound for acoustic work and too little temperature change for thermal work, in which case the meter test and isolation become the main evidence, and the location may be narrowed to a section rather than a single point. A drain leak, which only flows when a fixture drains, may test clean on a meter test, because the meter only measures supply water, and it needs a different sequence based on fixture use and drain checks. A technician who explains those limits, and who shows how each result supports the next, is giving a more trustworthy location than one who promises a point from a single reading.
Call for detection when a sign keeps returning, when a meter test shows movement with everything off, when a floor patch feels warm, when a yard patch stays damp in dry weather, or when a stain grows steadily rather than fading. Bring notes: when the sign appeared, which rooms and walls it touches, what was running when it grew, and what your meter tests showed. Those notes let a technician choose the right first method instead of starting from scratch, and they shorten the visit. For a broader checklist of signs, see our guide to signs of a hidden water leak and our comparison of do it yourself checks versus professional detection. If water flows actively, if a ceiling sags, or if an electrical fitting sits in a wet wall, treat that as urgent and call promptly rather than running more tests.
- Confirm with a meter test whether water is leaving the system at all.
- Isolate sections one at a time to narrow the leak to a short run of pipe.
- Use listening, thermal, or moisture checks on that short section, not on the whole house.
- Trace the pipe route so a sound or warm patch can be matched to a known run.
- Cross check methods before planning a repair, because one reading alone can mislead.
A typical detection visit follows a clear order, and that order is worth understanding before you book. It begins with questions and a walk through the signs, then a meter test to confirm whether water is leaving the system, then isolation to narrow the section, then listening, thermal, or moisture checks on that short section, and finally a location that a repair can target. Each step depends on the one before it, and skipping a step usually costs time later, because a tool used on a whole house gives a weaker result than the same tool used on a short run. Keep the area clear, keep notes and photos handy, and keep the house quiet during listening checks if the technician asks, because those small preparations improve every method that follows.
Leak Detection California uses that staged approach across California, from slab homes to yard lines to pool systems, and our water leak detection page explains the service in full. For urgent situations, our emergency leak detection page covers fast visits, and our water leak emergency guide covers the first steps when water is flowing. If you have a sign that will not settle, a meter that moves with everything off, or a damp patch whose source stays unclear, call Leak Detection California at (833) 382-2711 and describe what you have seen, where it appears, and what your meter test showed, so the visit can start with the method most likely to find it.
Frequently Asked Questions
What is the first step in leak detection?
A meter test with everything off, which shows whether water is leaving the system at all. Isolation testing then narrows the leak to a section, house versus yard or hot versus cold, before any tool is used on a short run of pipe.How does acoustic leak detection work?
A sensitive listening device compares sound levels along a pressurised pipe run and finds where the sound of escaping water is strongest. It works best on supply lines and is less useful on slow drain leaks, which may make little sound.Can thermal imaging see a pipe through concrete?
No, it shows the temperature pattern on the surface, such as a warm patch above a hot slab line. That pattern is read alongside meter results and room layout before it is treated as a location.When should I call for professional leak detection?
Call when a sign keeps returning, when a meter test shows movement with everything off, when a floor patch feels warm, or when a yard patch stays damp in dry weather. You can reach Leak Detection California at (833) 382-2711.More From the Blog

Water Leak Emergency: What to Do in the First 60 Minutes
Shut off the main valve, make the area safe, protect your belongings, and document damage. A clear first-hour plan for a California water leak emergency.
Read article →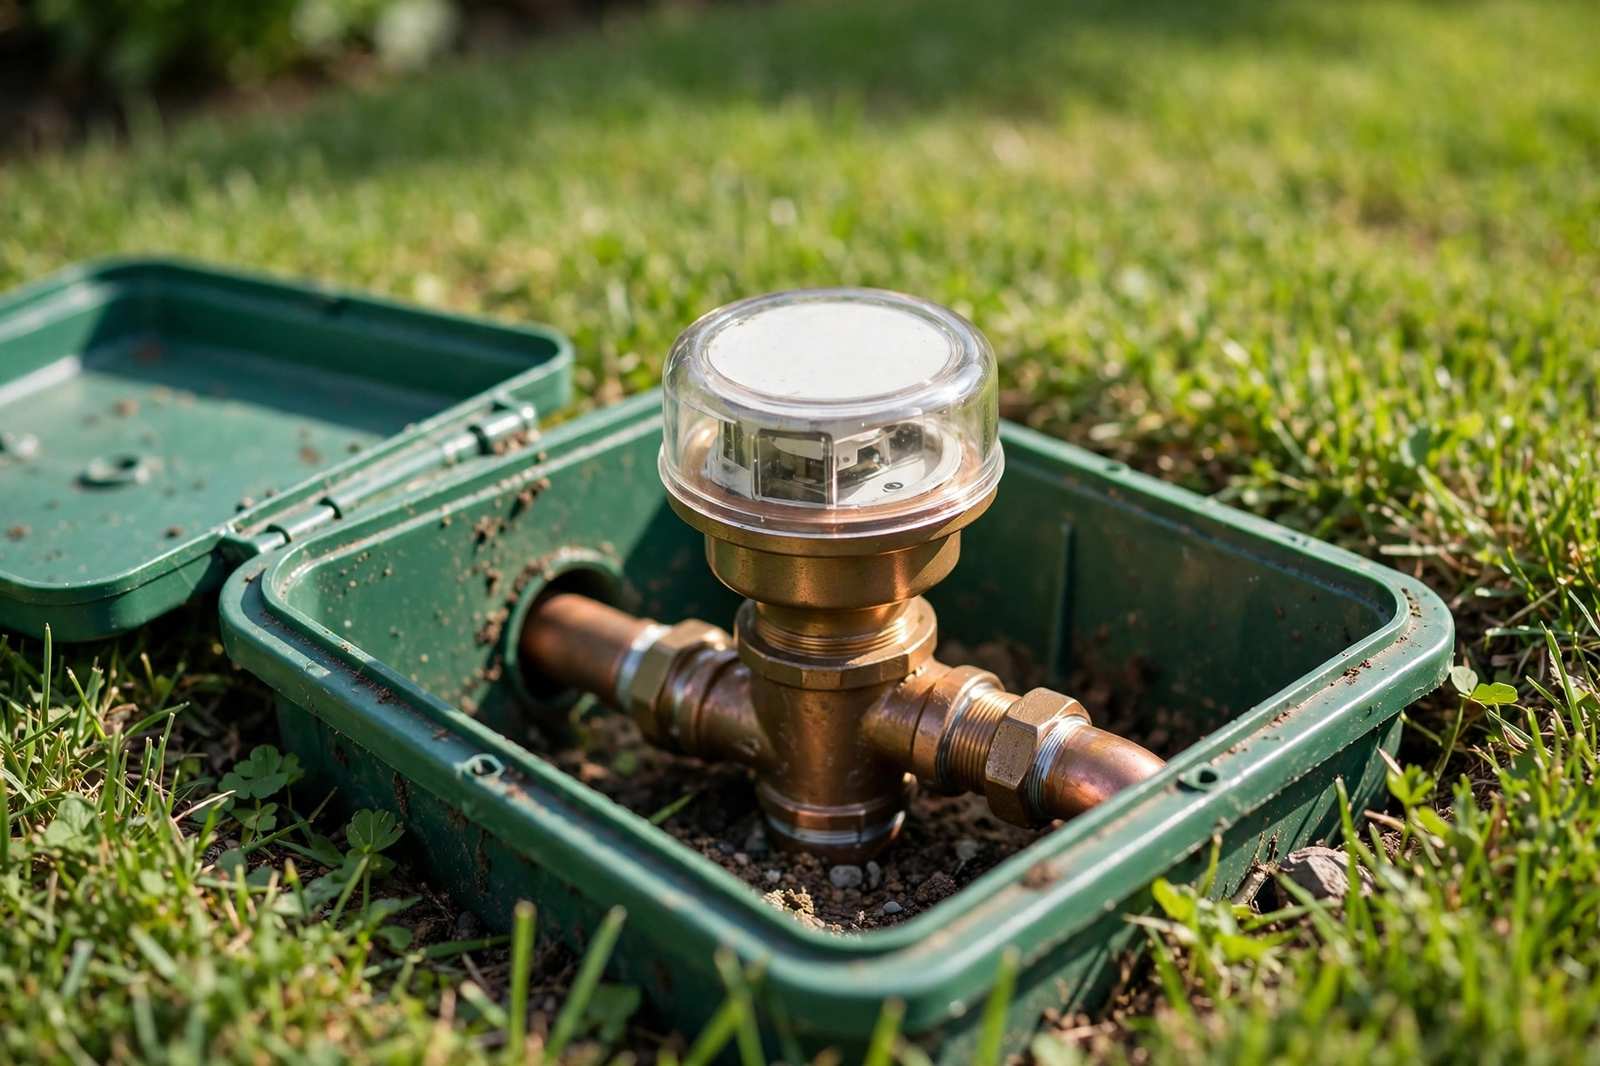
Your Water Bill Spiked: Is It a Leak or Just Higher Rates?
A higher total does not always mean a leak. Compare usage with last year, do a simple meter check, and learn which culprits waste water silently and which are just rates.
Read article →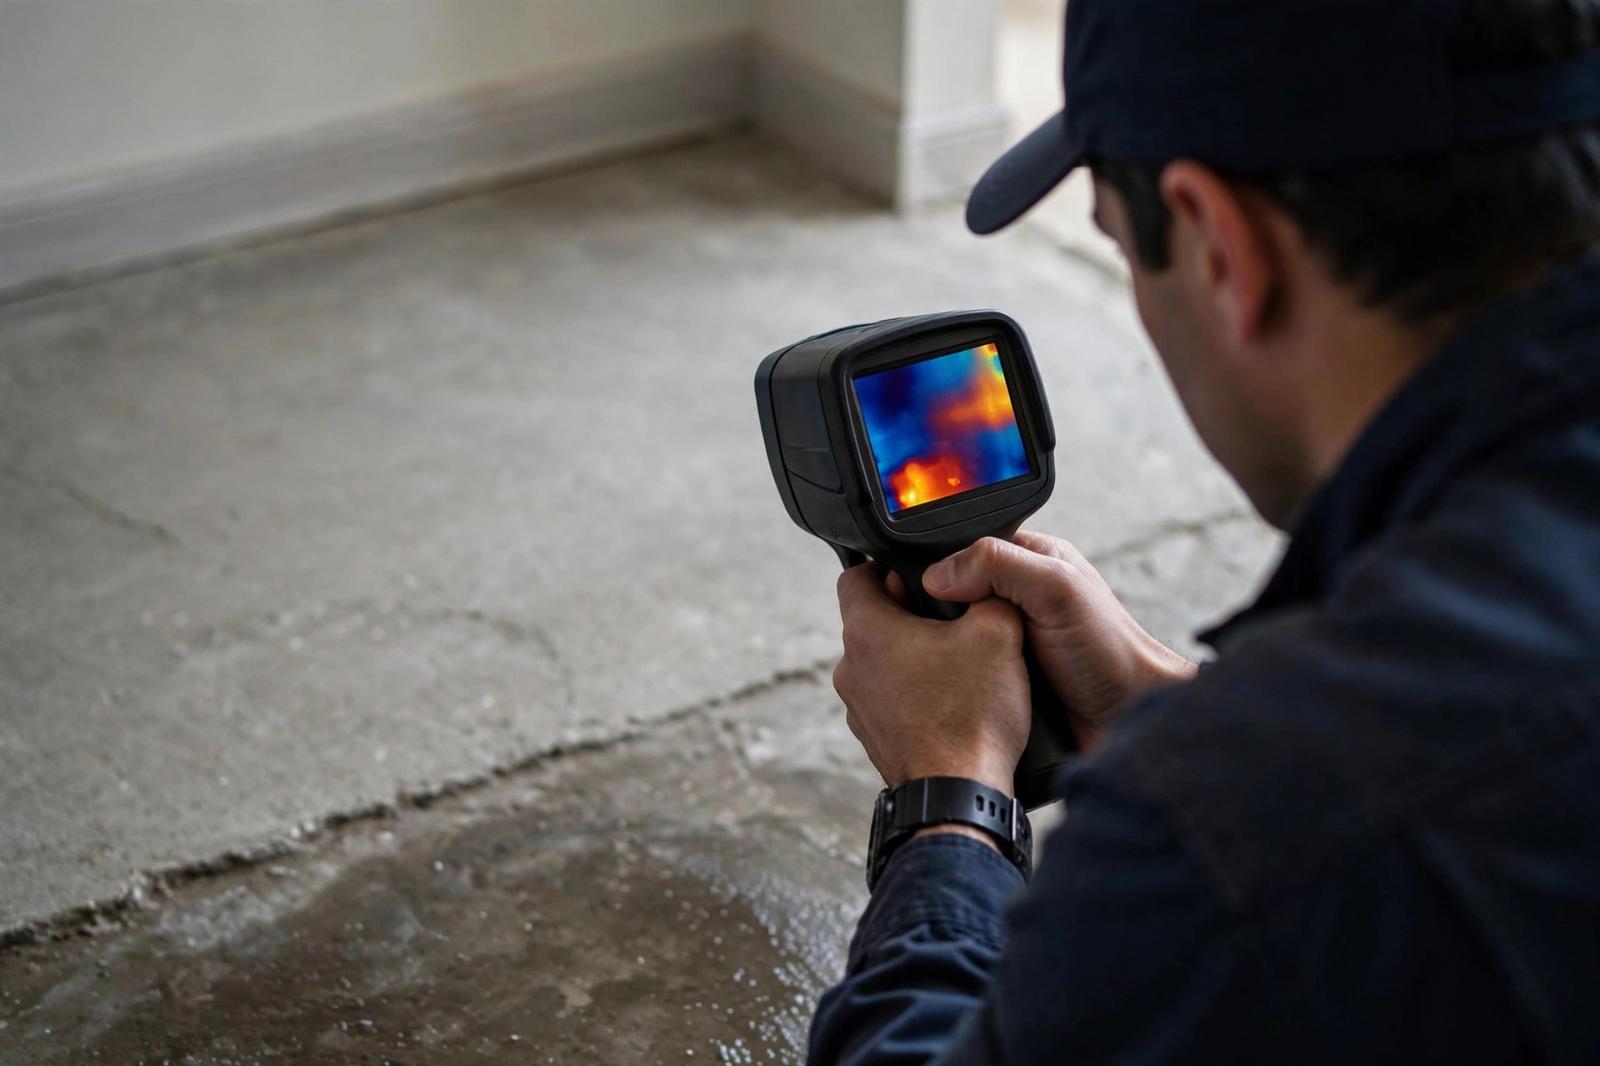
Why Slab Leaks Are So Common in Southern California
Clay soils, hard water, aging copper, and slab construction combine across Southern California. Here is why slab leaks cluster there and how they are found.
Read article →