 Leak Detection California
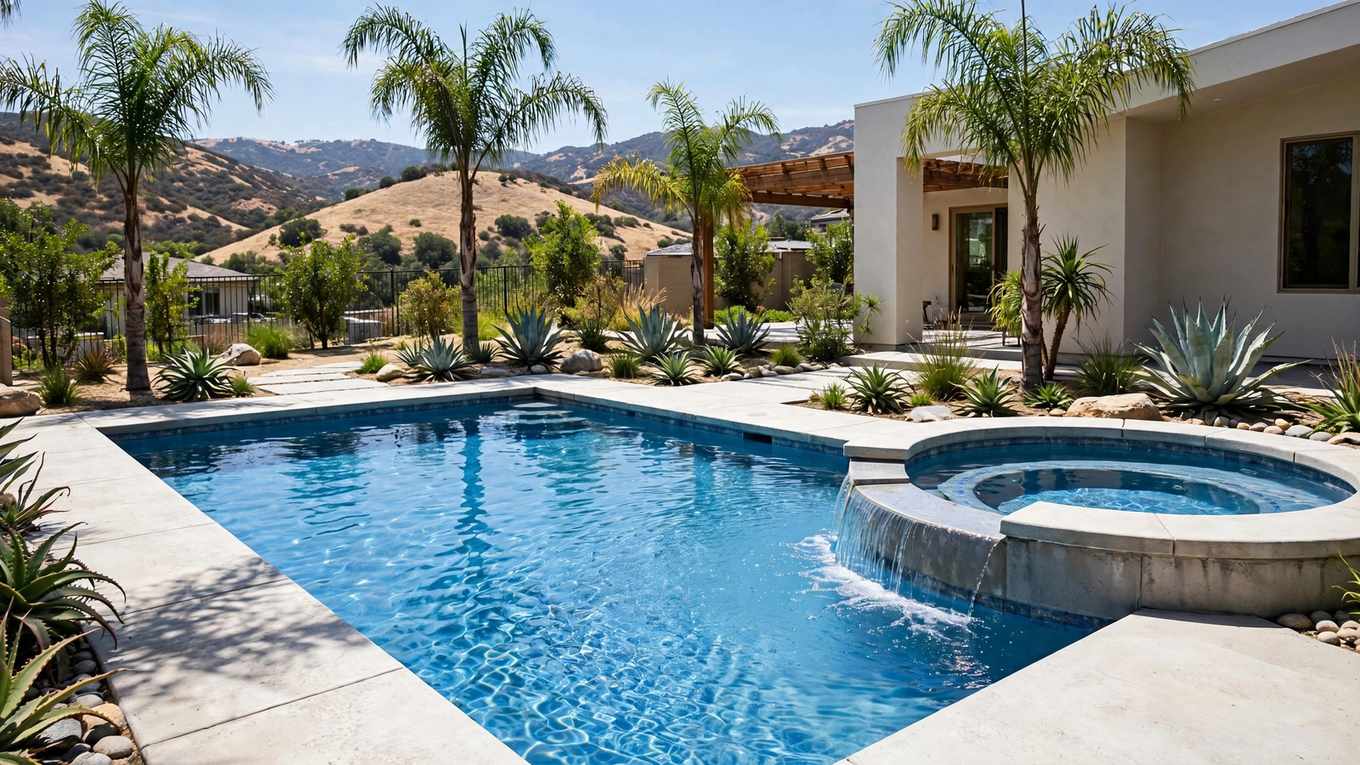
A pool that keeps losing water usually has a leak, not just evaporation, when the level drops steadily even on mild days, when the same spot stays wet, or when air keeps showing up in the pump basket. Evaporation happens in every California pool, especially in heat and wind, but it tends to be slow and fairly even. A leak is different. It often leaves a pattern: one area that never quite dries, a crack that grows, equipment that struggles to hold prime, or a water bill and refill routine that suddenly change. This guide walks through the signs worth taking seriously, simple checks you can do at home, and the point where a professional test makes more sense than another round of guessing.
A Water Level That Keeps Dropping
The first sign most pool owners notice is the waterline itself. You top the pool up, it looks right for a day or two, and then it is low again. That cycle is worth paying attention to, because a healthy pool should hold its level within a fairly narrow range once the pump, filter, and returns are running normally. Mark the level with a small piece of tape on the skimmer or tile line, then check it at the same time each day for several days. Write the readings down. A steady, repeated drop tells a clearer story than a single glance after a hot weekend, and it gives a technician useful information later if you decide to call.
Pay attention to whether the drop stops at a particular point. If the level falls to the skimmer mouth and then holds, the problem may be near that fitting. If it keeps falling past the skimmer and down toward a return jet or light niche, the leak may be lower in the structure or in a line connected at that height. That detail matters, because it narrows the search. It also helps to note what was running while the level fell. A leak in a return line may show up more when the pump is on, while a structural crack can lose water around the clock. Keep the notes simple: date, level, pump on or off, and anything unusual you saw around the pool.
Wet Spots, Soggy Ground, and Cracks
Water escaping from a pool has to go somewhere, and the ground around the shell often shows it first. Look for soil that stays damp long after watering or rain, grass that grows faster in one patch, or paving that feels soft, uneven, or slightly sunken near the pool. Inside the pool, check the plaster or tile for cracks, especially around steps, corners, skimmer throats, and light niches, where movement and age tend to concentrate stress. A hairline surface mark on its own does not prove a leak, but a crack that is stained, widening, or paired with a falling water level deserves a closer look.
Also watch the equipment pad and the areas where pipes enter the ground. A damp pad, a puddle that returns after you dry it, or soil that smells musty near a line can point to a plumbing leak rather than a shell problem. In California, long dry spells make these clues easier to spot, because a wet patch stands out against otherwise dry ground. If you find one, do not dig around it yourself. Mark the spot, take a photo, and note whether it grows after the pump runs. That record helps a technician decide whether the next step is a pressure test, a dye check, or a closer look at the shell and fittings.
Air in the Pump, Bubbles, and Equipment That Struggles
A pool pump should run with a full, steady basket of water and only a small amount of air after startup. If you keep seeing a large air pocket in the pump lid, bubbles coming back through the returns, or a pump that loses prime and needs frequent repriming, air is getting into the system somewhere. On the suction side, that often means a fitting, valve, or pipe joint is drawing air. On the pressure side, water may be escaping instead. Either way, the equipment is telling you the sealed system is no longer sealed, and the symptom tends to get worse rather than better on its own.
Start with the simple checks. Make sure the water level is high enough for the skimmer to work, the pump lid seal is clean and seated, and the skimmer basket is not blocked. If those look right and the air persists, note when it appears. Air that shows up only while the pump runs points toward the circulation system. A pool that loses water with the pump off as well points more toward the shell or a fitting below the waterline. For a fuller picture of how a technician narrows this down, read our explanation of how leak detection works, which describes the sequence of checks used to separate a plumbing problem from a structural one.
Evaporation or Leak: How to Tell the Difference
California pools lose water to evaporation, and the rate changes with heat, wind, humidity, and how often the pool is used. A windy week in the Central Valley will not behave like a still, humid week on the coast. That is why a single hot day is a poor test. The bucket test, described below, is more reliable, because it compares the pool against a control sitting in the same weather. Before you run it, the table below gives a quick way to compare what evaporation usually looks like against what a leak usually looks like.
| What you see | More likely evaporation | More likely a leak |
|---|---|---|
| Speed of loss | Slow and fairly steady | Steady drop day after day |
| Ground around the pool | Dry as usual | One damp or soggy patch |
| Pool structure | No new cracks or stains | Crack, stain, or loose fitting |
| Equipment | Pump holds prime normally | Air in pump or loss of prime |
| After rain or cool weather | Loss slows noticeably | Loss continues at a similar pace |
Use the table as a starting point, not a verdict. A pool can have both evaporation and a small leak at the same time, which is why the bucket test matters. It removes weather from the equation. If the pool drops noticeably more than the bucket over the same period, you have a stronger reason to look for a leak. A water meter leak check can add another data point for the property as a whole, especially if you suspect a supply line rather than the pool itself, and it pairs well with the pool-specific checks in this guide.
Two Simple Checks: The Bucket Test and the Dye Test
The bucket test is the easiest reliable check a homeowner can run, and it needs no special tools. Place a bucket on a pool step so it sits steady with water inside, mark the water level inside the bucket and the water level of the pool beside it, then leave the pump off for a day if conditions allow and compare the two marks after the same period. If both drop by about the same amount, evaporation is the likely explanation. If the pool drops clearly more than the bucket, water is leaving the pool somewhere other than the surface. Keep the test running for at least a full day, and repeat it if wind or a heatwave makes the first result hard to read.
- Set the bucket on a stable step, with its rim above the pool waterline, and fill it to match the pool level.
- Mark both levels with tape or a waterproof marker, and note the time you start.
- Leave the system as still as you can, and avoid swimming or topping up during the test.
- Compare the two marks after a full day, and write down how far each one moved.
- Repeat the test if the weather changed sharply halfway through, so the comparison stays fair.
- If the pool lost clearly more than the bucket, move on to a dye check or call for a professional test.
The dye test helps pinpoint a suspected spot, such as a crack, a light niche, or a skimmer seam. With the pump off and the water as still as possible, release a small amount of dye near the suspect area and watch what it does. If the dye is drawn steadily into a crack or fitting, water is moving out through that point. If it drifts away or hangs in place, that spot is probably not the source. Work slowly, test one area at a time, and do not stir the water while you watch. For more detail on reading these early signs, see our guide to swimming pool leak signs, which covers the same checks in a step-by-step format you can follow at the poolside.
When to Call a Professional Pool Leak Service
Call for help when the signs point in the same direction: a repeated drop on the bucket test, a crack or fitting that draws dye, a wet patch that keeps returning, or equipment that will not hold prime. A professional can pressure test individual lines, listen for leaks underground, and check fittings that are hard to reach or easy to damage with guesswork. That matters because pool plumbing runs under concrete and soil, and digging in the wrong place costs time and can turn a small repair into a larger one. A careful diagnosis first usually means a smaller, more targeted repair later, and it gives you a clear explanation of what was found and where.
It also helps to know what to ask about before the visit. Mention your bucket test results, where the level stops falling if it stops at all, whether the loss changes with the pump on or off, and any wet spots or cracks you have photographed. If you are weighing whether to keep testing on your own or bring someone in, our comparison of DIY versus professional leak detection lays out where homeowner checks end and specialist equipment takes over. And if your water bill has also jumped, our post on whether a water bill spike means a leak or a rate change can help you separate a pool problem from a household supply problem.
If your pool is showing several of these signs at once, do not wait for the level to drop further or for a wet patch to spread. A dedicated pool and spa leak detection service can test the shell, fittings, and lines, and confirm the source before repair work begins. Call (833) 382-2711 to talk through what you have noticed, including your bucket test results and any cracks or wet spots, and arrange a visit to find the leak.
Frequently Asked Questions
How can I tell if my pool is leaking or just evaporating?
Run a bucket test: place a bucket on a pool step, mark the water level inside the bucket and in the pool, and compare them after a full day. If the pool drops clearly more than the bucket, a leak is likely.What does air in the pump basket mean?
Air in the pump basket, bubbles at the returns, or a pump that loses prime can mean air is entering the suction side or the sealed system is no longer sealed. Check the water level, skimmer basket, and pump lid seal first, and note whether the problem appears only while the pump runs.How does a dye test find a pool leak?
With the pump off and the water still, release a small amount of dye near a suspected crack, light niche, or fitting. If the dye is drawn steadily into that spot, water is moving out through it. Test one area at a time and avoid stirring the water while you watch.When should I call a professional for a pool leak?
Call when the bucket test shows a clear loss, a dye check points to a crack or fitting, a wet patch keeps returning, or the equipment will not hold prime. A professional can pressure test lines and check fittings that are hard to reach without digging in the wrong place.More From the Blog

Water Leak Emergency: What to Do in the First 60 Minutes
Shut off the main valve, make the area safe, protect your belongings, and document damage. A clear first-hour plan for a California water leak emergency.
Read article →
Your Water Bill Spiked: Is It a Leak or Just Higher Rates?
A higher total does not always mean a leak. Compare usage with last year, do a simple meter check, and learn which culprits waste water silently and which are just rates.
Read article →
Why Slab Leaks Are So Common in Southern California
Clay soils, hard water, aging copper, and slab construction combine across Southern California. Here is why slab leaks cluster there and how they are found.
Read article →