 Leak Detection California
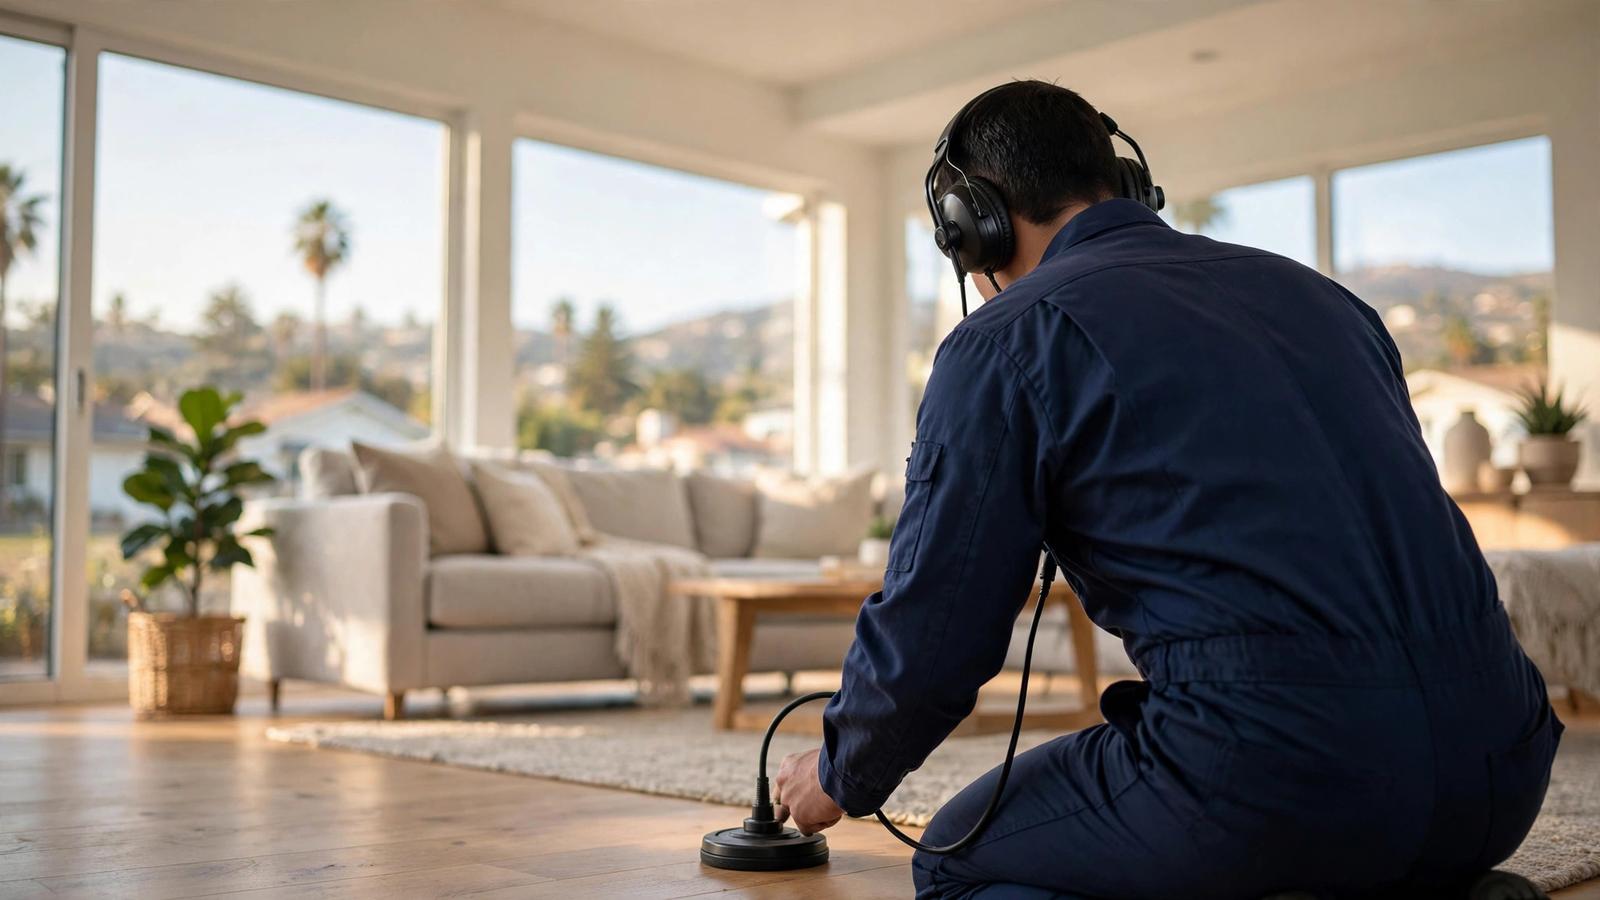
Professional leak detection is the process of finding the exact location of a hidden water leak using specialized, non-invasive equipment instead of guesswork and demolition. Rather than opening walls or breaking a slab on a hunch, a trained technician reads the physical evidence a leak leaves behind, sound, heat, moisture, and pressure changes, and triangulates those clues to a precise point.
Below you will find a plain-English explanation of each detection method, a step-by-step walkthrough of a typical visit from arrival to written report, and a breakdown of what that report includes so you know exactly what you are getting. This is the exact process Leak Detection California runs on every visit, from the first meter check to the final mark.
Professional Leak Detection, Defined
Professional leak detection is a diagnostic service, not a repair service. Its output is knowledge: confirmation that a leak exists, its precise location, the affected pipe or zone, and a written record your plumber or insurer can act on. The defining feature is non-invasive methodology, the technician finds the leak through the surfaces rather than by removing them.
This distinction matters because the traditional alternative is exploratory demolition: cutting open drywall at the stain, or jackhammering a slab where the floor sounds hollow, hoping to expose the break. Detection reverses that order. Pinpoint first, open once. A good detection visit ends with a mark on the floor or wall, often within inches of the actual failure, and a repair scope narrow enough that your plumber can quote the fix accurately.
The 7 Detection Methods, Explained
No single instrument finds every leak. Technicians combine methods based on the symptoms, the pipe material, and where the leak is suspected to be. Here is what each one actually does.
- Acoustic listening. Highly sensitive ground microphones and headphones pick up the distinct hiss or whoosh of pressurized water escaping through a break. The technician sweeps along the suspected pipe run; the sound grows louder approaching the leak and fades past it. Acoustic work excels on pressurized supply lines and works best in a quiet environment, which is why many technicians prefer early or late appointments for difficult cases.
- Thermal imaging. An infrared camera reads surface temperatures across walls, ceilings, and floors. A leaking hot-water line shows as a warm plume spreading through concrete or drywall; a cold-water leak can appear as a cooler anomaly where evaporation chills the surface. Thermal imaging does not see through walls like an X-ray, it reads the temperature story the surface tells, but in practiced hands that story is remarkably precise.
- Tracer gas. The line is drained and filled with a safe, non-toxic mixture of hydrogen and nitrogen. The tiny gas molecules escape through the break, rise through soil or concrete, and are detected at the surface with a sensitive sniffer. Because the gas escapes exactly where the water does, tracer gas is one of the most accurate tools for slab leaks and buried lines.
- Pressure testing. Sections of pipe are isolated with valves or caps, pressurized with air or water, and watched on a gauge. A holding gauge means a sound section; a falling gauge confirms a leak and roughly quantifies it. Pressure testing answers the critical early question, which line is actually leaking, before pinpointing begins.
- Line tracing and locating. A transmitter sends a signal along a metallic pipe (or along a tracer wire laid beside non-metallic pipe), and a receiver above ground maps the pipe's path and depth. You cannot find a leak in a pipe you cannot find, so tracing often precedes acoustic work on underground runs, it tells the technician exactly where to listen.
- Moisture meters. Pin and pinless meters measure moisture content in drywall, wood, and concrete. By taking readings in a grid pattern, the technician maps how far dampness has spread and follows the gradient back toward its wettest point, the source. Moisture mapping also documents the extent of secondary damage for your records.
- Dye testing. A non-staining fluorescent dye is introduced into a drain, toilet, or pool, and its exit point reveals the leak path. Dye is the go-to method for drain lines, shower pans, and pool structures, where the question is not pressure but where water goes when it leaves the system.
In practice, a technician rarely relies on one method. A typical slab-leak visit might combine thermal imaging to find the warm zone, acoustic listening to pinpoint within it, and line tracing to map the pipe route, three independent readings converging on one marked spot.
A Typical Detection Visit, Step by Step
Knowing what happens during the appointment removes the mystery. Here is the standard sequence:
- Symptom interview. The technician asks what you have noticed, bill changes, sounds, stains, odors, warm spots, and when each symptom appeared. Your timeline focuses the search and often eliminates whole zones before any equipment comes out.
- Whole-property walkthrough. A visual inspection of the interior and exterior notes every clue: discoloration, flooring changes, yard anomalies, equipment-pad moisture. Nothing is assumed; everything is recorded.
- Baseline verification. A meter flow test confirms whether a pressurized leak is active right now. If the meter is still, the investigation pivots to drains, irrigation schedules, or intermittent sources rather than chasing a phantom.
- Methodical survey. Based on the symptoms, the technician selects the right instruments and works the suspect areas systematically, listening along pipe runs, scanning surfaces thermally, taking moisture readings in a grid.
- Pinpointing and cross-checking. When one method flags a location, a second method verifies it. Two independent readings agreeing on one spot is the professional standard before anything is declared found.
- Marking the location. The confirmed spot is marked clearly, tape or paint on floors, flags in yards, so your plumber can open exactly there and nowhere else.
- Report and next steps. You receive written findings with photos and readings, plus a plain-English explanation of what the repair will involve and who should do it.
What the Detection Report Includes
The report is the tangible product of the visit, and the document your plumber and, if relevant, your insurer will work from. A complete report covers:
- The confirmed leak location, described and marked, with reference points any contractor can find
- Which methods were used and what each one indicated
- Photos and thermal images of the evidence
- Moisture readings showing the extent of dampness around the leak
- A pipe-route map when line tracing was performed
- The recommended repair scope in plain language, what needs opening, what needs replacing
- Notes on secondary damage observed (mold, flooring, soil saturation) for your records
Keep this report. It turns a vague "we think there's a leak" into a documented, third-party finding, useful for repair quotes, warranty discussions, and insurance documentation alike.
How to Prepare for a Detection Visit
A little preparation makes the visit faster and more accurate. Clear access to the water heater, the water meter, and any area where you have noticed symptoms, move stored items away from suspect walls and utility closets. Write down your symptom timeline and have a recent water bill handy; both sharpen the technician's focus. Secure pets in a separate room, since the technician will move through the house with sensitive equipment. An adult should be present to answer questions and authorize access. Finally, keep water use normal in the hours before the visit, the leak should be behaving the way it has been behaving so the instruments read true conditions.
Book a Non-Invasive Detection Visit
Detection answers the two questions that matter, is there a leak, and exactly where, without exploratory demolition. Call to describe your symptoms and receive an upfront quote by phone before anyone is dispatched.
Call (833) 382-2711 to schedule a visit anywhere in California.
Not sure where the leak is? Call (833) 382-2711, same-day appointments available across California.
Frequently Asked Questions
Does leak detection require tearing up my floors or walls?
No, avoiding that is the entire point of the service. Detection equipment reads sound, heat, moisture, and pressure through intact surfaces, and the confirmed location is marked for a single targeted opening by your repair plumber. Exploratory demolition is what detection replaces, not what it involves.
How long does a detection visit take?
Most residential visits run one to three hours, depending on the property size and how many zones must be checked. A single suspect bathroom is quick; tracing an underground service line across a large lot takes longer. Your specialist can give you a realistic time estimate when you describe the situation by phone.
Can you find a leak if I have no idea where it is?
Yes, that is the normal starting point, not an exception. Most customers arrive with symptoms (a bill spike, a sound, a stain) rather than a location. The visit is designed to work backward from symptoms to source using the methodical survey described above.
Is leak detection the same thing as leak repair?
No. Detection is diagnosis: it confirms the leak and pinpoints its location. Repair is the plumber's work: opening the marked spot and fixing or replacing the failed pipe. The detection report bridges the two, giving the repair contractor an exact target and an accurate scope to quote against.
What happens if no leak is found?
You still receive a documented report of the survey, the methods used, and the negative result, which has real value. It rules out a pressurized leak, redirects attention to drains, irrigation, or usage patterns, and provides written evidence for your records or your insurer that a professional investigation was performed.